Introduction
Getting a passport or visa is often accompanied by some level of stress, and a rejected photo can significantly compound this, potentially delaying your travel plans. This guide aims to alleviate those concerns. It unravels the complexities of passport photo compliance, equipping you with the knowledge and tools - including advanced AI-powered solutions - to navigate US and international standards successfully and ensure a smooth, stress-free application process for 2026. Are you ready to take control and guarantee acceptance of your photo? Let's dive in!
Understanding Common Rejection Reasons
The first step to avoiding passport photo rejection is understanding the common pitfalls. Here's a rundown of the most frequent reasons photos get turned down:
- Incorrect Size and Dimensions: Passport photos must adhere to specific size requirements (e.g., 2x2 inches in the US). Photos that are too large or too small will be rejected.
- Improper Background: A plain white or off-white background is typically required. Busy patterns, shadows, or colors can lead to rejection. Check out our article explaining passport photo background rules.
- Non-Compliant Attire: Certain clothing items, such as hats (unless for religious or medical reasons) and uniforms, are prohibited. Make sure you know what to wear for a US passport photo.
- Issues with Accessories: Eyeglasses are generally not allowed, as they can obstruct the eyes. Jewelry should be minimal and not obscure facial features. You can read more about this in our post about passport photos with jewelry.
- Poor Lighting and Shadows: Uneven lighting, harsh shadows, or glare can distort facial features and cause rejection.
- Incorrect Facial Expression: A neutral expression is required. Smiling, frowning, or raising eyebrows can cause issues with biometric analysis. Is it ok to smile in a passport photo? Find out here!
- Low Resolution or Poor Image Quality: Blurry, pixelated, or low-resolution photos are unacceptable.
- Red Eye: Red eye effect caused by flash photography can lead to rejection.
- Hair Obscuring Face: Hair that covers the eyes or other significant facial features is not permitted. Confused about the requirements for hair on passport photos? We have the answers!
DIY Passport Photo Guide: Taking Control at Home
Creating a passport photo at home offers convenience and cost savings. Here's a comprehensive guide to doing it right:
- Use a Smartphone or Digital Camera: Modern smartphones have excellent cameras that can capture high-quality images.
- Find a Well-Lit Area: Natural light is best, but avoid direct sunlight, which can cause harsh shadows. If using artificial light, ensure it is even and diffused.
- Set Up a Plain Background: Use a white or off-white wall or hang a plain sheet behind you.
- Position Yourself Correctly: Stand or sit facing the camera, with your head and shoulders visible. Maintain a neutral expression and look directly at the lens.
- Follow Composition Tips: Ensure your face is fully visible and that your hair doesn't obscure your eyes or other key facial features.
- Take Multiple Shots: Capture several photos to choose the best one.
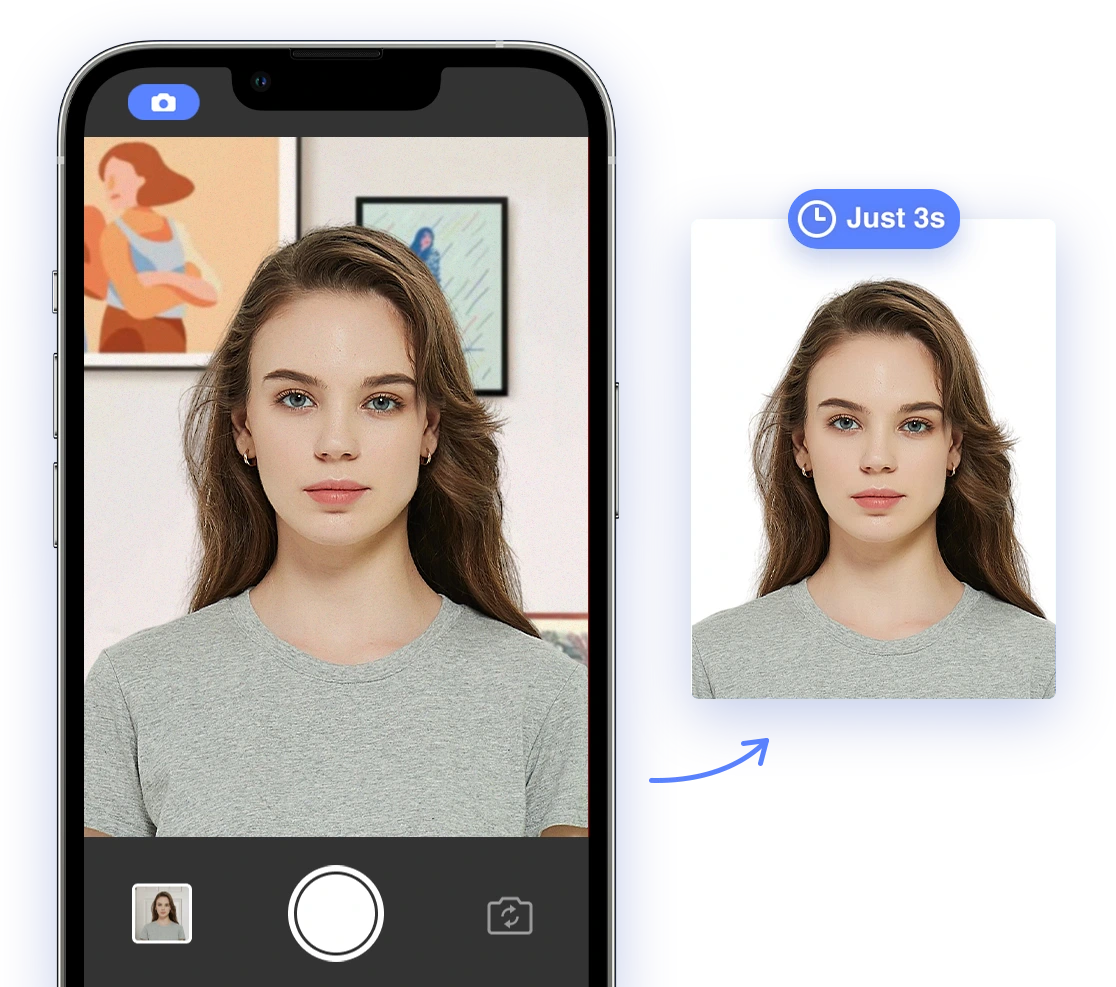
- Utilize Online Tools: Use a reliable AI passport photo tool to crop, resize, and adjust your photo to meet official requirements.
Mistakes to Avoid: Common Pitfalls in DIY Passport Photos
Even with the best intentions, DIY passport photos can easily fall short of compliance. Here's a detailed breakdown of common errors and how to avoid them:
- Incorrect Head Size: Ensure your head size falls within the specified range. The US Department of State requires the head to measure between 1 inch and 1 3/8 inches from the top of the head to the bottom of the chin.
- Off-Center Composition: Your face should be centered in the frame. Avoid tilting your head or looking to the side.
- Wearing Prohibited Items: Refrain from wearing hats, sunglasses, or other accessories that obscure your face, unless for documented religious or medical reasons.
- Submitting a Photo That Is Too Old: Photos must be recent, generally taken within the last six months, to accurately reflect your current appearance.
- Not Meeting Background Requirements: Avoid backgrounds that are not plain white or off-white.
Leveraging AI Solutions: Ensuring Compliance with Ease
AI-powered tools have revolutionized the passport photo creation process. These innovative solutions can automatically:
- Crop and Resize: Ensure your photo meets the exact size and dimensions required by specific countries.
- Remove Backgrounds: Automatically replace busy or non-compliant backgrounds with a plain white one.
- Check Compliance: Analyze your photo against official guidelines, flagging any potential issues with lighting, facial expression, or attire.
- Adjust Lighting and Colors: Optimize lighting and colors to ensure your photo is clear and properly exposed.
Aipassportphoto is an excellent example of such a tool, offering a user-friendly interface and advanced AI algorithms to ensure your passport photo meets all necessary requirements. Simplify your passport photo process today!
Global Compliance Standards: Navigating Country-Specific Requirements
While many passport photo requirements are universal, some countries have unique specifications. Be sure you know what is needed to get the right photo size. Here's a brief overview of some key differences:
- United States: Requires a 2x2 inch (51x51 mm) photo with a white or off-white background. Eyeglasses are generally not allowed. Consult the US Department of State website for the most up-to-date details.
- United Kingdom: Requires a 45x35 mm photo with a light grey or cream background.
- Schengen Area: Requires a 45x35 mm photo with a plain light-colored background.
- India: Requires a 2x2 inch (51x51 mm) photo with a white or light-colored background.
Always consult the specific requirements of the country for which you are applying to ensure compliance.
Troubleshooting Common Issues with AI Tools
Even with AI-powered assistance, challenges can arise. Here's how to troubleshoot common issues:
- AI Not Recognizing Facial Features: Ensure your face is fully visible and well-lit. Remove any obstructions, such as hair or eyeglasses.
- Background Removal Errors: If the AI struggles to remove the background cleanly, try using a simpler background or manually editing the photo.
- Compliance Check False Positives: If the AI flags an issue that you believe is incorrect, double-check the official requirements and consider seeking a second opinion.
- Website or App Errors: Clear your browser cache, update the app, or try using a different device.
If you have to travel internationally in a matter of minutes and don't hold a valid passport, you might be able to get an
emergency passport.
Optimizing Your Passport Photo for AI Analysis
To get the best results from AI-powered passport photo tools, keep these tips in mind:
- Use High-Quality Images: Start with a clear, high-resolution photo.
- Ensure Even Lighting: Avoid harsh shadows or glare.
- Follow Composition Guidelines: Center your face and maintain a neutral expression.
- Review AI Feedback Carefully: Pay close attention to any issues flagged by the AI and make necessary adjustments.
- Consider Professional Review: If you're unsure about compliance, seek a professional review from a passport photo service.
By understanding common rejection reasons, following DIY best practices, leveraging AI tools, and optimizing your photos, you can confidently navigate the passport photo process and ensure a smooth, stress-free application. Always check the most recent requirements on the official government website before submission, as guidelines can change.
Take control of your application and
create perfect passport photos at home with AI Passport Photo!